Maintaining your vehicle or machinery’s fuel system is crucial for longevity and efficiency. Over time, contaminants such as dirt, rust, and debris can accumulate in the fuel tank, leading to engine malfunctions, reduced performance, and even costly repairs. Regular fuel tank cleaning ensures that your vehicle operates smoothly and prevents long-term damage.
In this guide, we will walk you through the process of cleaning your fuel tank, discuss the importance of proper maintenance, and highlight an eco-friendly cleaning solution that makes the job easier.
Why is Fuel Tank Cleaning Important?
Fuel tanks are prone to contamination over time. Whether it’s due to the fuel’s quality, water intrusion, or simple wear and tear, deposits build up inside the tank. These contaminants can cause the following problems:
- Clogged fuel filters: Dirty fuel tanks contribute to clogged filters, leading to restricted fuel flow.
- Fuel injector damage: Debris in the fuel tank can make its way to the injectors, reducing engine efficiency.
- Corrosion: Rust inside the tank can erode the metal and compromise the integrity of the fuel tank.
A regular fuel tank cleaning regimen not only improves your engine’s performance but also extends the life of your vehicle or machinery.
How to Clean a Fuel Tank
Fuel tank cleaning is a process that requires attention to detail and the right tools. Here’s a step-by-step guide to cleaning your fuel tank properly:

Step 1: Prepare the Necessary Tools
Before you begin your fuel tank cleaning process, make sure you have the following tools and materials:
- Wrenches or screwdrivers (depending on your tank’s fittings)
- A fuel siphon pump
- Safety goggles and gloves
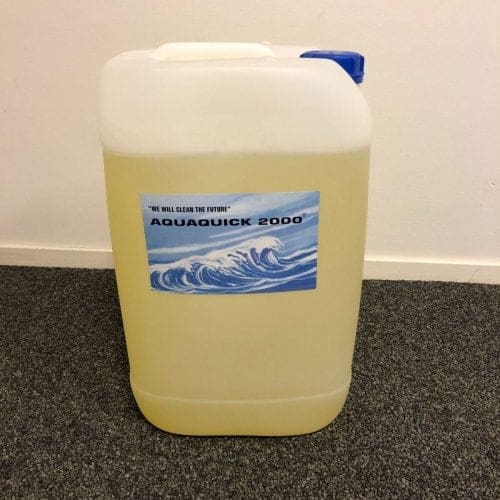
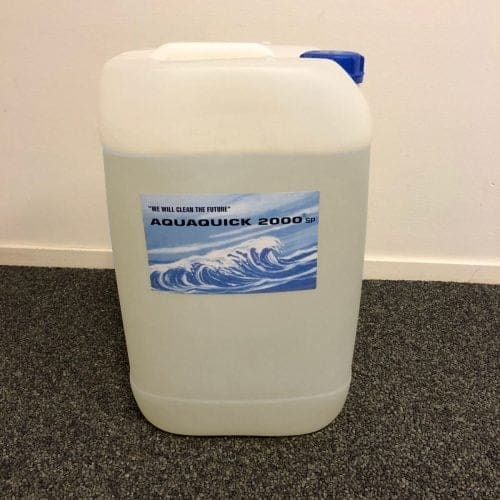
- Cleaning agents, such as AQUAQUICK
- Rags or absorbent cloths
- Fuel filters (if you’re replacing them)
- A fuel tank liner (optional)
Step 2: Drain the Fuel Tank
The first step in cleaning your fuel tank is to remove any remaining fuel. Use a fuel siphon pump to safely extract the fuel into a container. Make sure to dispose of the old fuel according to local regulations, as it may contain contaminants that are harmful to the environment.
Step 3: Remove the Fuel Tank
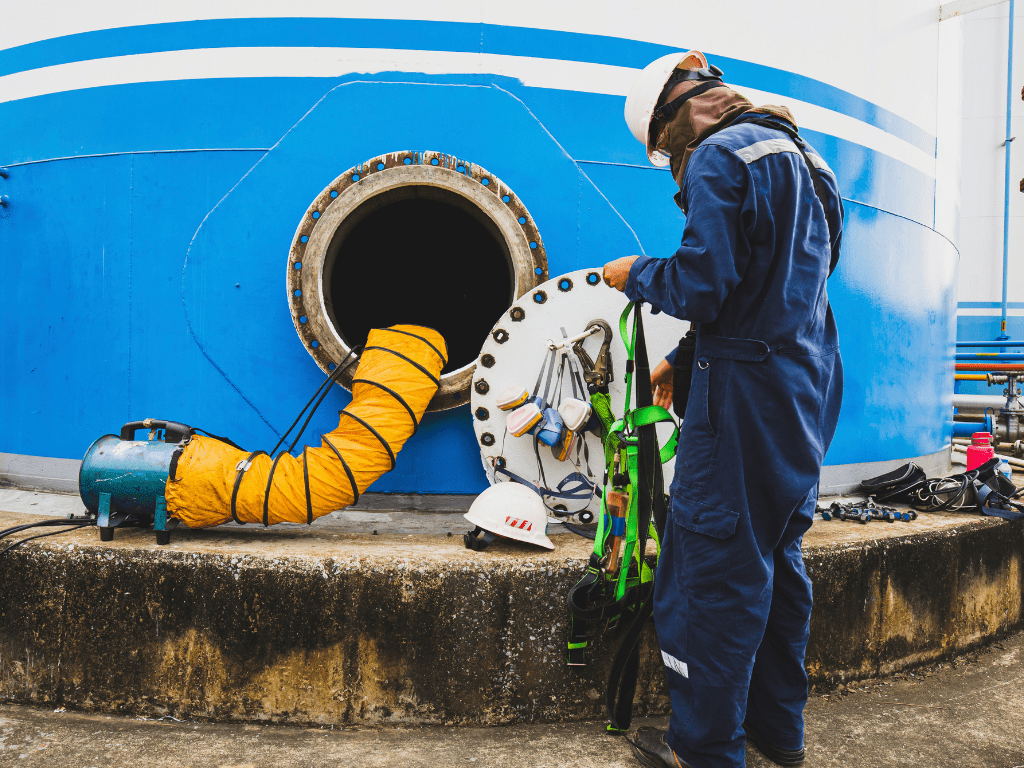
For a thorough cleaning, it’s best to remove the fuel tank from the vehicle or equipment. This allows you to reach every nook and cranny inside the tank. Consult your vehicle’s manual for instructions on how to remove the fuel tank safely.
Step 4: Clean the Inside of the Tank
Once the tank is removed, it’s time to clean the interior:
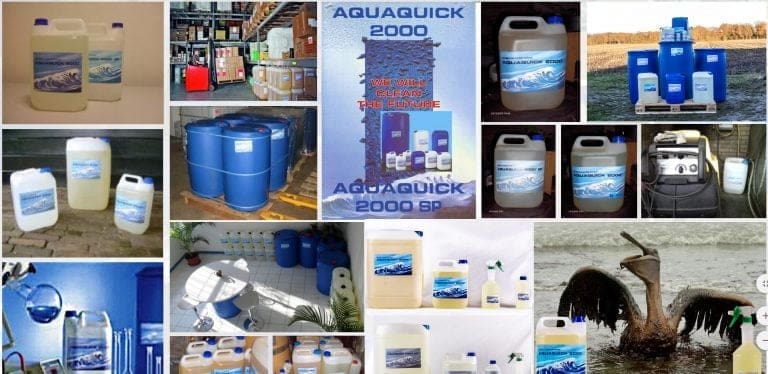
- Use a Cleaning Solution: Opt for a biodegradable cleaner like AQUAQUICK to break down contaminants without harming the environment. AQUAQUICK’s formula is effective in dissolving oils, greases, and other residues that build up over time.
- Scrub the Tank: Using a long-handled brush, scrub the inside of the tank to remove stubborn deposits. Make sure to reach the corners and seams where debris tends to accumulate.
- Rinse Thoroughly: After scrubbing, rinse the tank with clean water to remove all cleaning agents and loosened dirt.
Step 5: Dry the Tank
Once you’ve rinsed the tank thoroughly, use absorbent cloths to dry the interior. Make sure there is no moisture left inside the tank, as water can lead to rust and corrosion. Some professionals recommend using a heat gun or blower to ensure the tank is completely dry.
Step 6: Inspect the Tank
Before reinstalling the fuel tank, inspect it for any signs of damage, such as corrosion or cracks. If necessary, apply a fuel tank liner to prevent future leaks and corrosion.
Step 7: Reassemble the Tank
After cleaning and inspection, reinstall the fuel tank and refit all hoses and connections securely. Double-check that the fuel lines are properly connected and that there are no loose fittings.
Preventative Measures to Keep Your Fuel Tank Clean
Cleaning your fuel tank should not be a one-time event. Regular maintenance is key to preventing buildup and ensuring your fuel system works efficiently. Here are some preventative measures to keep your fuel tank clean in the long run:
Use High-Quality Fuel
The quality of the fuel you use has a significant impact on the cleanliness of your fuel tank. Low-quality or contaminated fuel can introduce impurities that accumulate over time. Always opt for fuel from trusted suppliers and avoid storing fuel for long periods, as it can degrade and contribute to contamination.
Install a Fuel Filter
A good-quality fuel filter can trap contaminants before they reach the engine. Make sure to replace the filter regularly according to the manufacturer’s recommendations.
Regular Inspections
Inspecting your fuel tank regularly will help identify issues such as rust or leaks early on. By catching problems in their early stages, you can prevent costly repairs down the road.
The Eco-Friendly Choice: AQUAQUICK
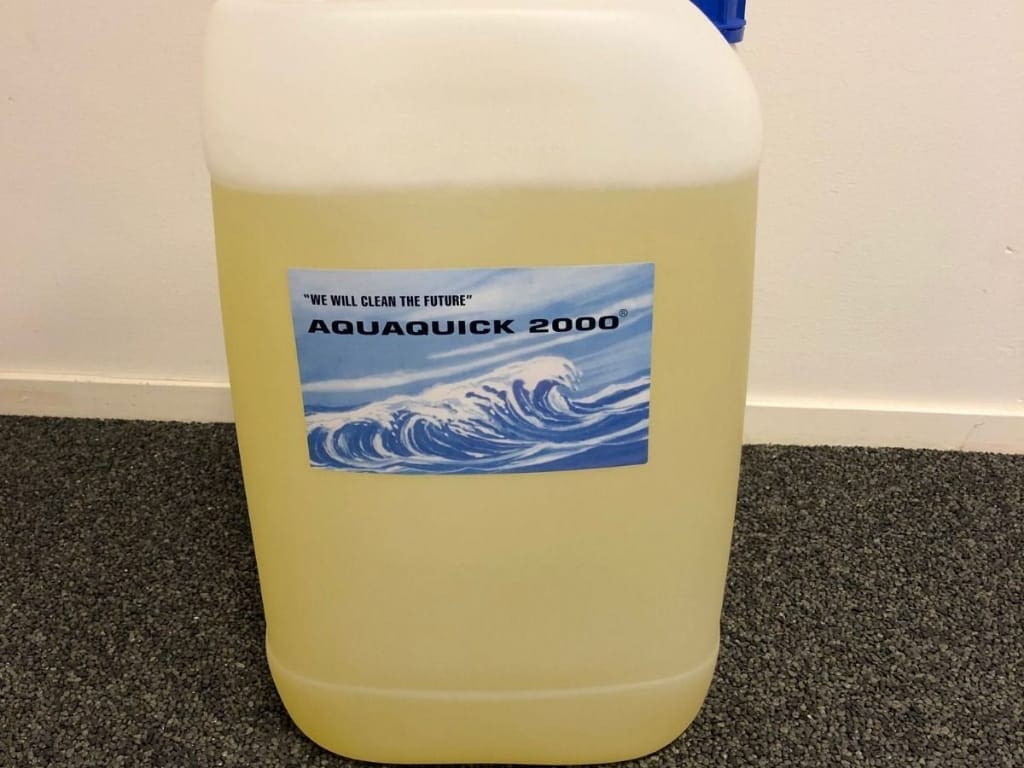
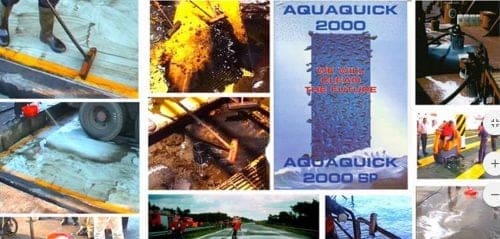
When it comes to fuel tank cleaning, using the right products can make all the difference. AQUAQUICK is an environmentally friendly cleaning solution designed to remove oils, greases, and other contaminants effectively. Its biodegradable formula ensures that it doesn’t harm the environment, making it an excellent choice for those who want to clean responsibly.
By incorporating AQUAQUICK into your regular maintenance routine, you can ensure that your fuel tank cleaning process remains free of harmful buildup. The product is not only safe for the environment but also powerful enough to tackle tough residues.
Conclusion
Fuel tank cleaning is an essential part of maintaining your vehicle or equipment. Regular cleaning helps prevent engine problems, prolongs the life of your fuel system, and improves overall performance. Whether you choose to clean your fuel tank yourself or hire a professional, using eco-friendly products like AQUAQUICK can make the process both effective and environmentally responsible.
By following the steps outlined in this guide and adhering to preventative maintenance practices, you can keep your fuel tank in excellent condition for years to come.

